Es posible que algunxs usuarixs de Firefox tengan que conectarse más de una vez para iniciar sesión. Es un error conocido de Firefox. Marca "keep me logged in" (mantenerme conectado), puede ayudar.
Rope storage for seats and other items.
Using rope and Spokes to store items.
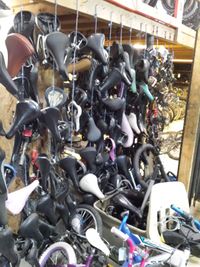
If your seats, freewheels, training wheels etc are getting to be to hard to search through then you may benefit by using some ropes and hooks made from spokes to store these items. You could even use these ropes to screen off areas of the shop. Here is an example of of using the ropes to store seats,freewheels, training Wheels, and pedals
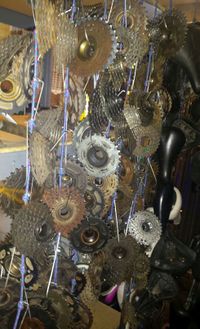
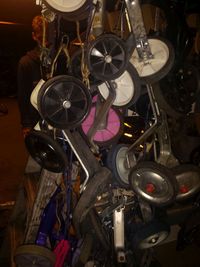
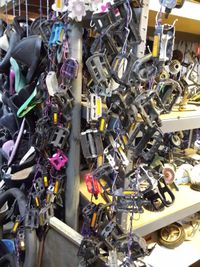
They can even be used to store wheels although that doesn't work as well.
First you need to make a wire bending jig (unless you already have one). This one is made with a 2x4 (hardwood works better than softwood) and I used axles to use for bending posts. I also used a bicycle peg to make larger bends and to bend the right angle clipon hook. The posts need to be just large enough for the spoke to fit between. I cut a groove at the top of the peg to make it easier to make a right angle bend. You see some glue to help strengthen the axles in the 2x4 (and because the 2x4 broke on me).
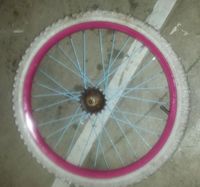
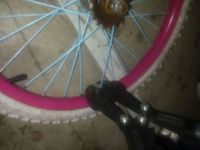 Next select some old 20" wheels to obtain spokes from. Other sizes can work depending on what size hook you need. Use a bolt cutter to cut off the thread and nipple from the spoke. (I found if you left the threads on then when you make the first bend it might break and it was harder to put it into the wire bending jig, plus it's much faster then unscrewing the nipples).
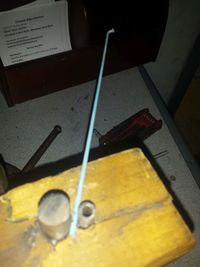
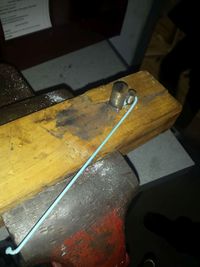 Now with all these spokes it is easiest to do one step at a time on ALL spokes and then more to the next step. First put the cut end of the spoke between the pegs with the cut end just sticking out and bend around the smallest peg to form a loop on the end This loop will eventually be crimped onto the rope.
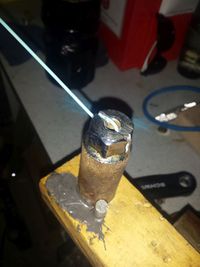
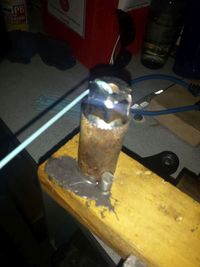 Next bend the loop at a right angle to the rest of the spoke.
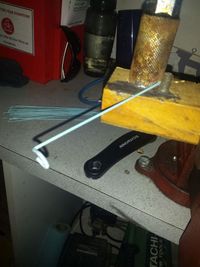
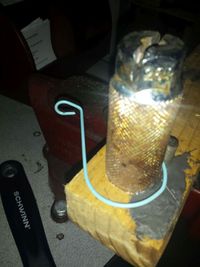 Finally put the nob or flange end of the spoke between the pegs and bend around the largest peg. Be sure to face it so the first loop faces away from the new curve and as positioned makes it easy to pull the spoke around. Note when you release it, it will spring back a bit. This is not a problem.
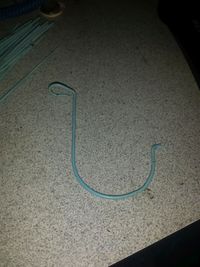 Here is the finished hook. Note you can also use the jig to make a slightly different hook.
 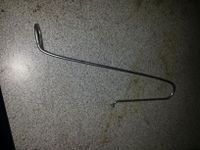 This second hook works better for seats and can be made using different pegs
 Now take a 1/4 in rope and tie knots about every 3-4 inches. When cutting the rope add about 1/3 more to the rope to allow for the knots. Tie a loop on one end. Put a wood screw where you want the rope to hang. Crimp on the hooks and hang your items on the rope.
We have found this has made it MUCH easier to find seats or freewheels or whatever was put on the rope but you will find the wall space quickly reduced.
--Lincoln Bike Kitchen (talk) 05:21, 18 November 2016 (PST)
